Note: depending on your van model, you may have to purchase different size bolts to ensure the bolt completely goes through the van floor.
If you have questions during any point of the installation process, please give our ramp experts a call at 262-228-9360, as they will be happy to assist you with any part of the installation.
INSTALLATION INSTRUCTIONS
First, make sure that your HandiRamp Cargo Van Ramp will properly fit your cargo van. This is called a “dry fit.” Place your ramp in the desired position in your van. Make sure the ramp fits within your van’s opening and isn’t obstructed. If the dry fit is successful, remove the ramp from your van to begin the installation.
Start by clearing the cargo area of your van. Make sure that there are not any obstructions beneath the van floor so that you are able to drill mounting holes.
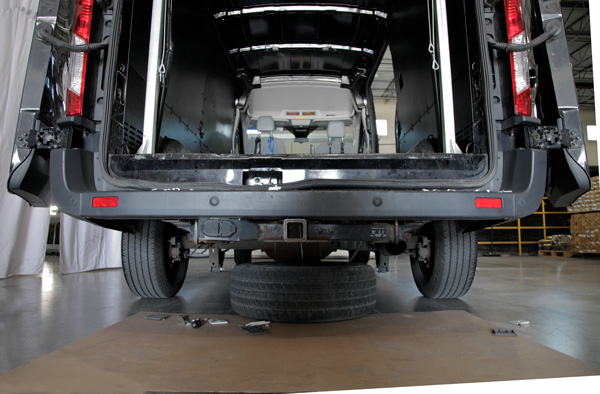
Some cargo vans will have a spare tire under the cargo area. If this is the case with your van, remove the tire before installing your ramp
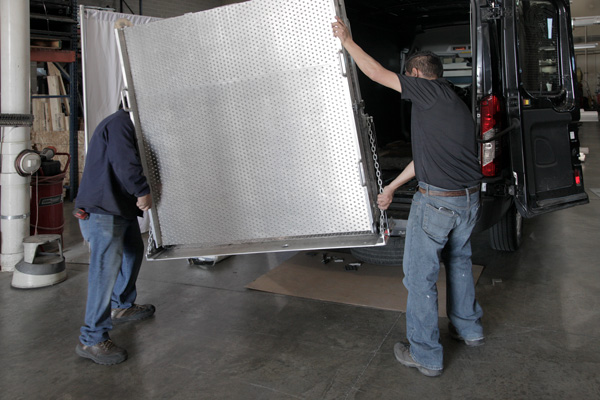
Lift the cargo van ramp into the van door opening. Be sure to use safe lifting techniques, as this will require at least two people to do.
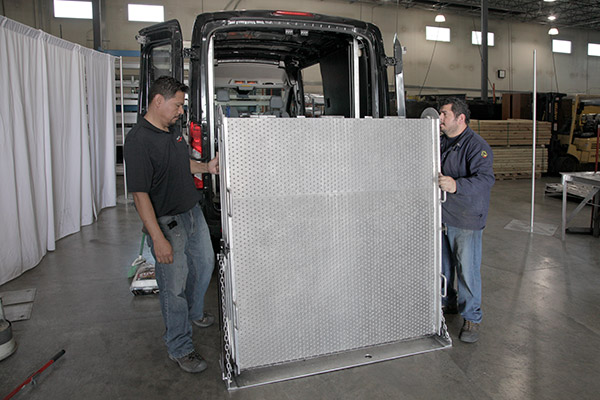
Now that your ramp is placed where it will be installed in your van, ensure that there is clearance on all sides of the ramp.
In order for your ramp to properly deploy, there must be at least two inches of clearance between the ceiling of the van and the top of the ramp. Not enough clearance? Contact us to purchase a ramp with a shorter length.
Between the ramp and van door opening, there should be at least 4.5 inches of clearance on either side of the ramp.
Make sure that your cargo van’s door can completely close without making contact with the ramp.
Remove the ramp from your van and get the required tools and parts ready for installation.
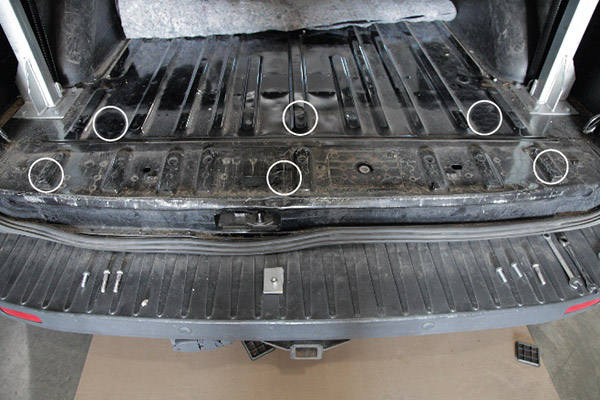
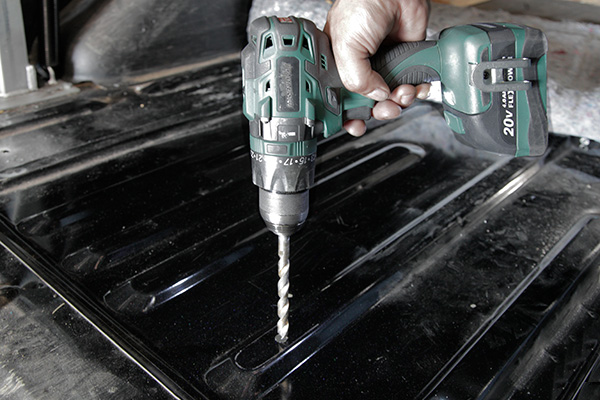
Use a marker to mark the drill holes. We recommend three holes in the front of the ramp plate and three in the back of the ramp plate.
Confirm that the marked holes are able to be drilled through the cargo floor. Then, drill the holes using a ⅜” drill bit completely through the floor.
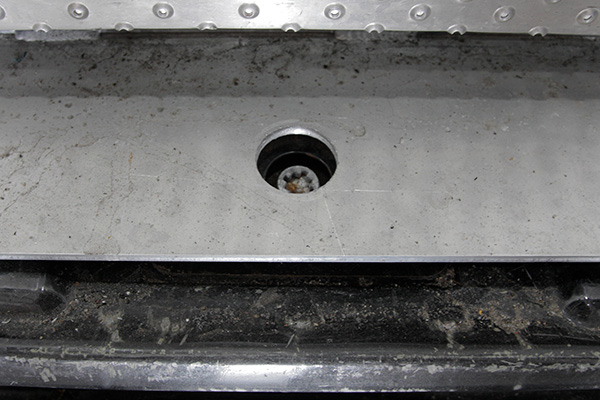
Clean the holes of any dust and debris so that they are ready to receive the bolts to install the ramp.
Note: You may also have to drill a large hole through the ramp base plate if it is blocking access to the spare tire.
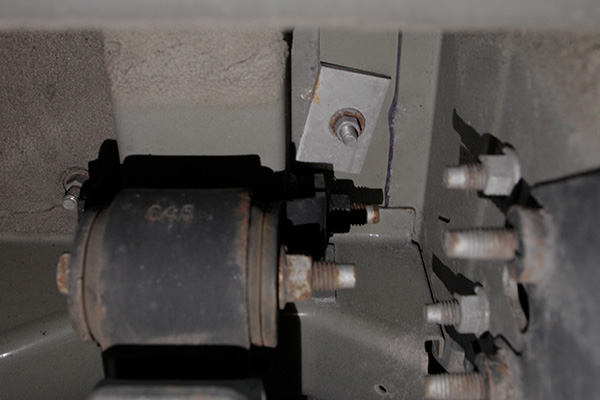
In some cases, the holes you drilled may require reinforcement from the undercarriage of the van. If this is true for your van, spread the weight appropriately by using the included fender washers underneath the van. This will prevent the nut from pulling through the hole from under the van.
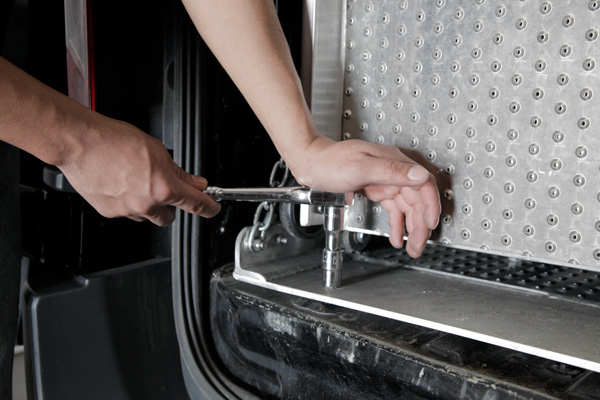
Following the suggested pattern, place a bolt with washers on either side of it through the holes you have drilled. Place the lock nut on the end of the bolt on the underside of the van. Use a socket wrench to tighten each bolt while holding the lock nut in place under the van with a wrench.
While tightening the bolts, make sure that the ramp is staying straight and level throughout the process. This will ensure that the ramp will deploy properly.
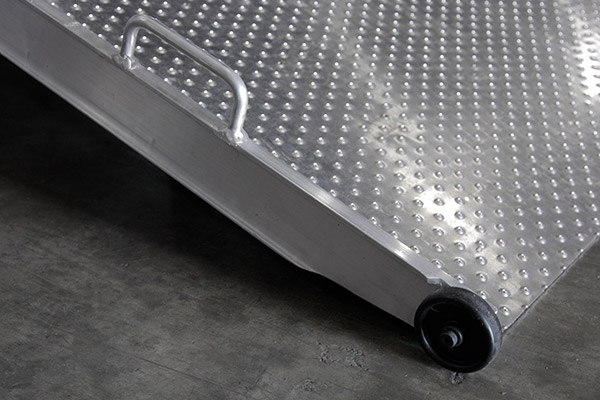
The caster wheels that are built onto the ramp will minimize the effort needed to deploy the ramp and make the ramp able to be rolled out smoothly.
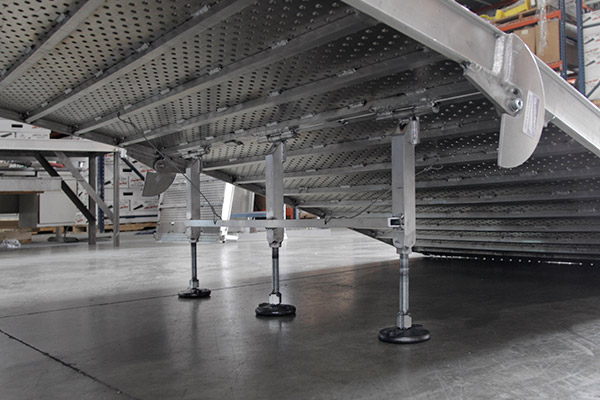
If you have a 1,500-lb capacity ramp, adjust the center legs to ensure that all legs make even contact with the ground.
Test your ramp by making an initial deployment. Make sure to use the handles when deploying or stowing the ramp as their placement was designed for ergonomic safety and efficiency.
Now that the ramp is in place and all the bolts have been tightened, raise the spare tire back up into your van if needed.
Congratulations! Your HandiRamp Cargo Van Ramp is now successfully installed.